Install & Activate
Installing TagVault is drag-and-drop, like any Mac app — open the DMG and drag TagVault into Applications.
First launch starts a 14-day free trial, no credit card required — TagVault works fully during the trial. When you're ready, activate with the license key from your purchase email and you're straight into the main app, no restart needed.
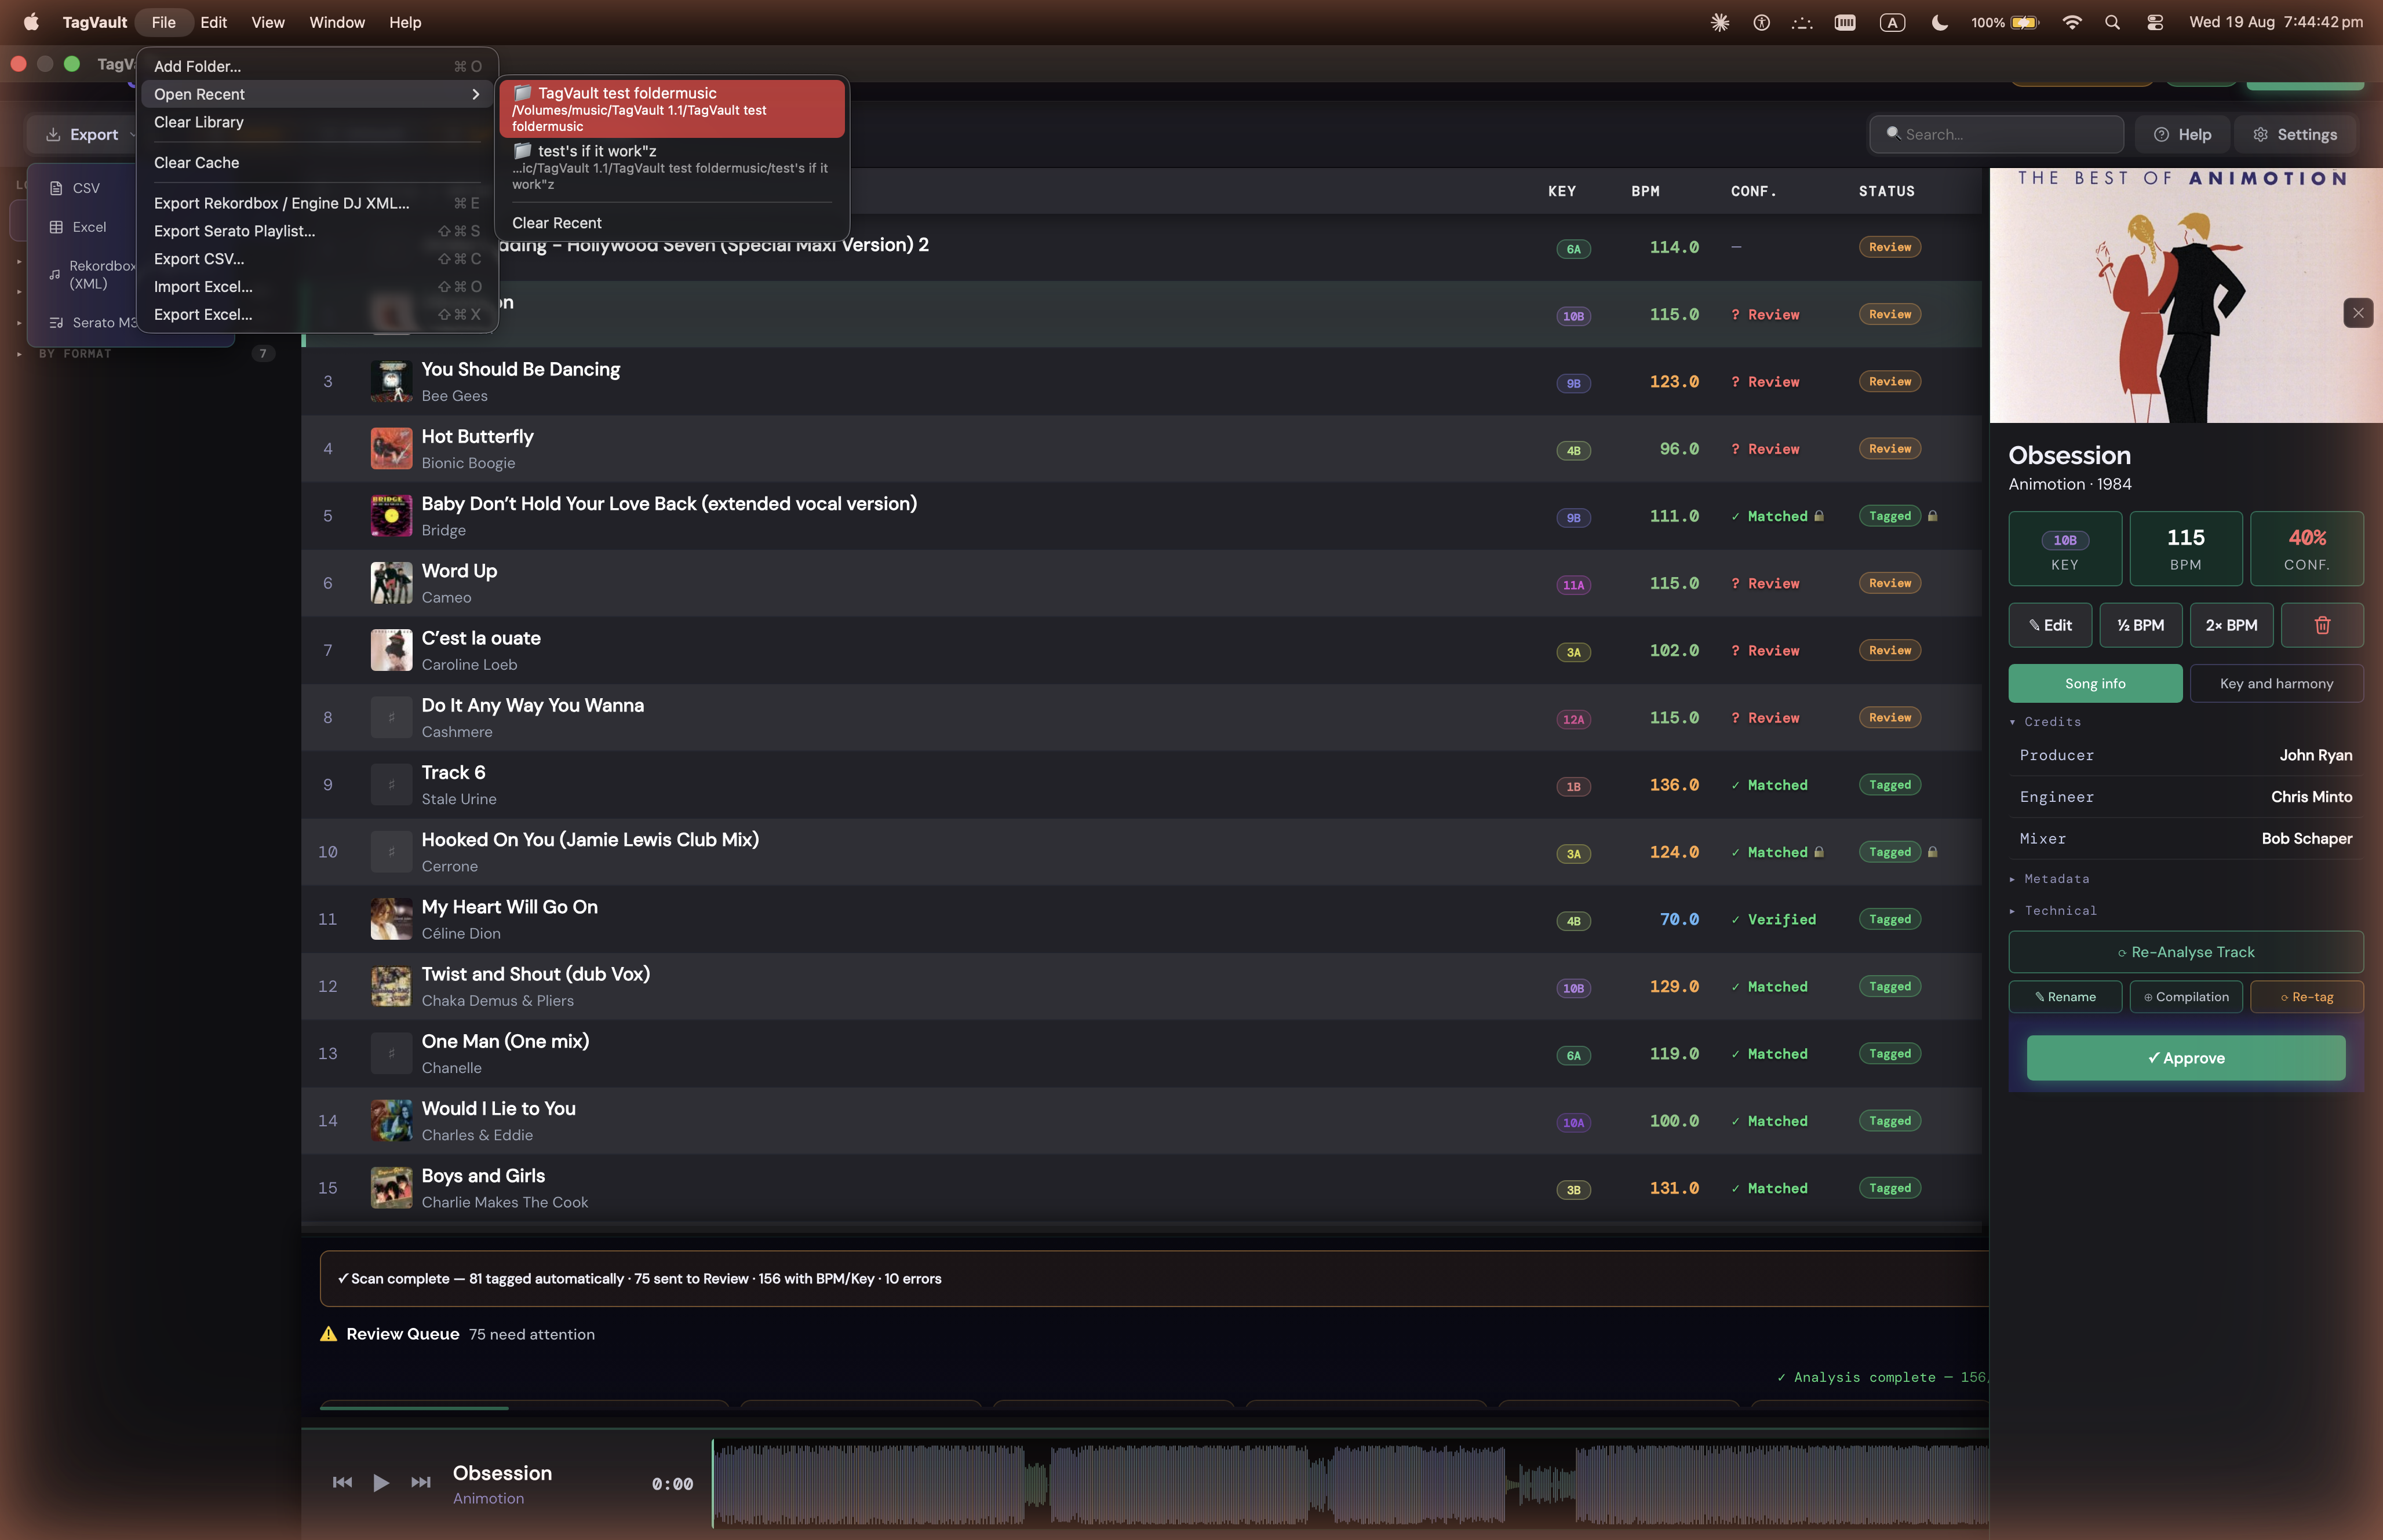
Before any folder is added, TagVault shows an empty library — no tracks, nothing under Locations, just a + Add Folder button to get started.
Add Your Library
Drop a folder onto the empty library screen, or click + Add Folder to browse. TagVault scans it recursively, subfolders included, and supports MP3, FLAC, WAV, AIFF, and DSF.
Add as many folders as you want — each shows up as its own entry in the Locations sidebar, independently browsable and removable without ever touching the files on disk.
Auto-Analysis
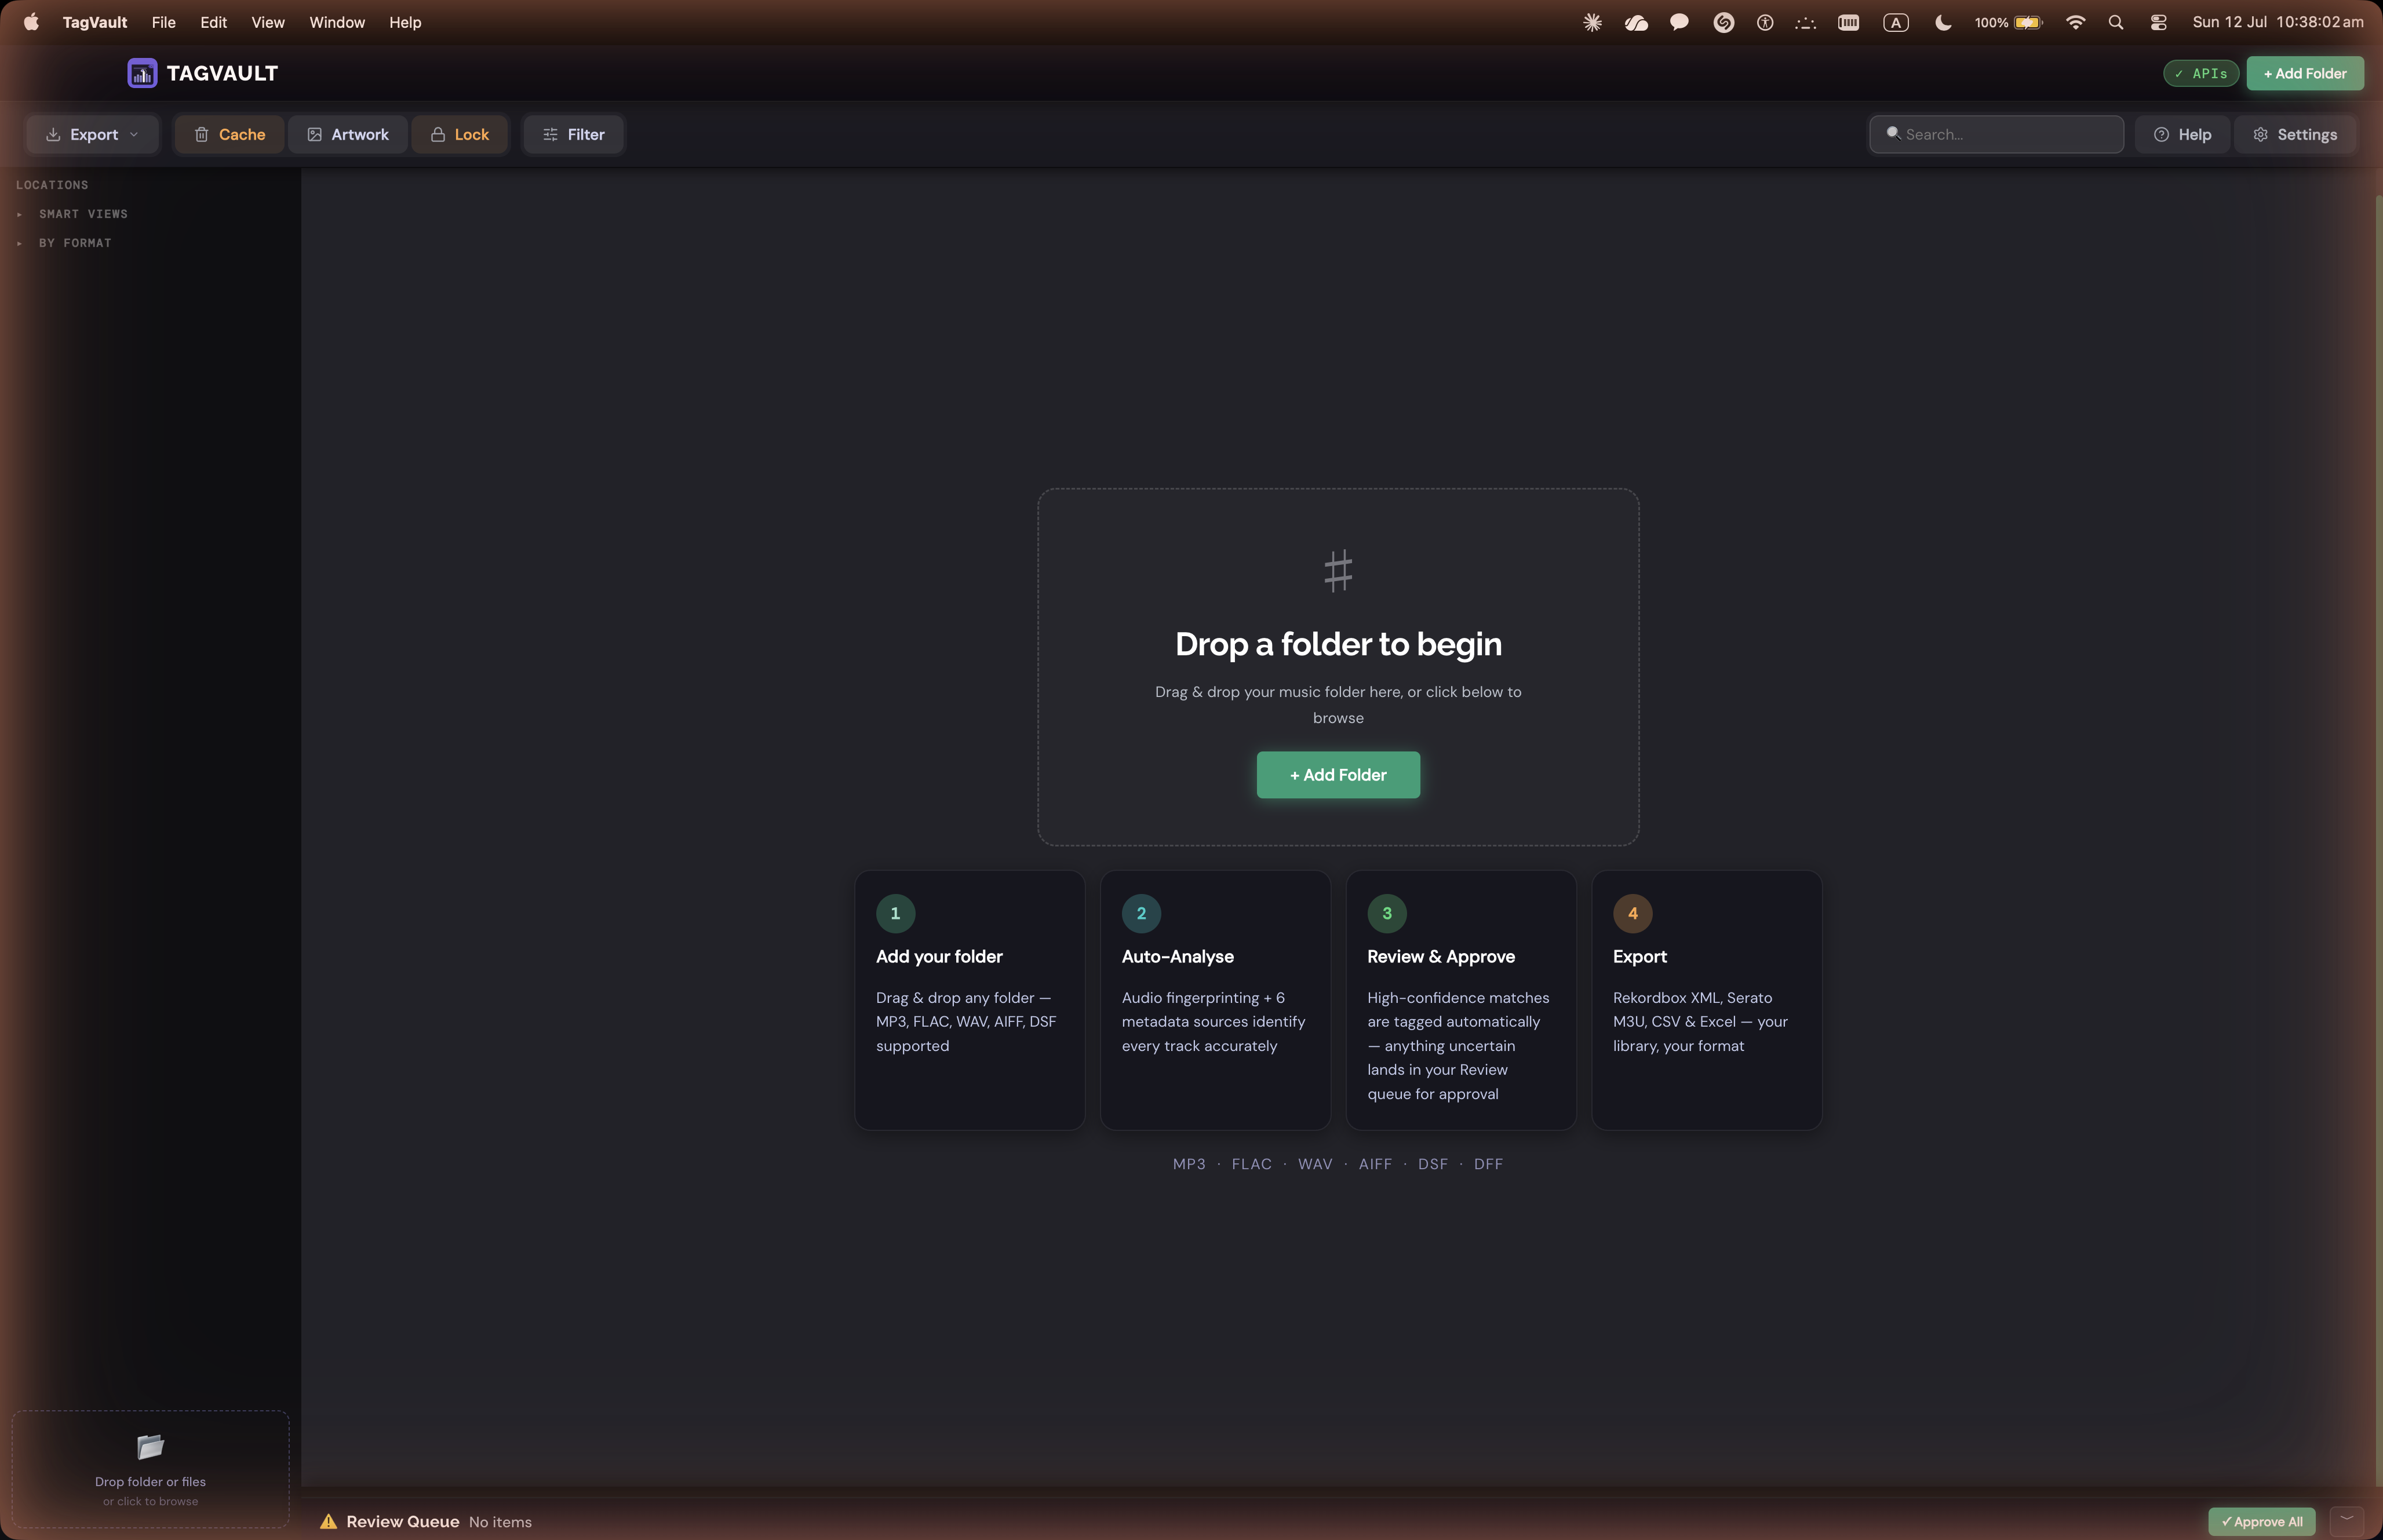
Once a folder is added, every track is fingerprinted and matched automatically against multiple metadata sources — so even a file with a garbage filename comes back identified.
BPM, key, and energy are calculated locally on your machine, nothing is ever uploaded. Anything that can't be matched confidently lands in the Review Queue instead of guessing, and the scan finishes with a clear summary of what got done.
Review & Approve
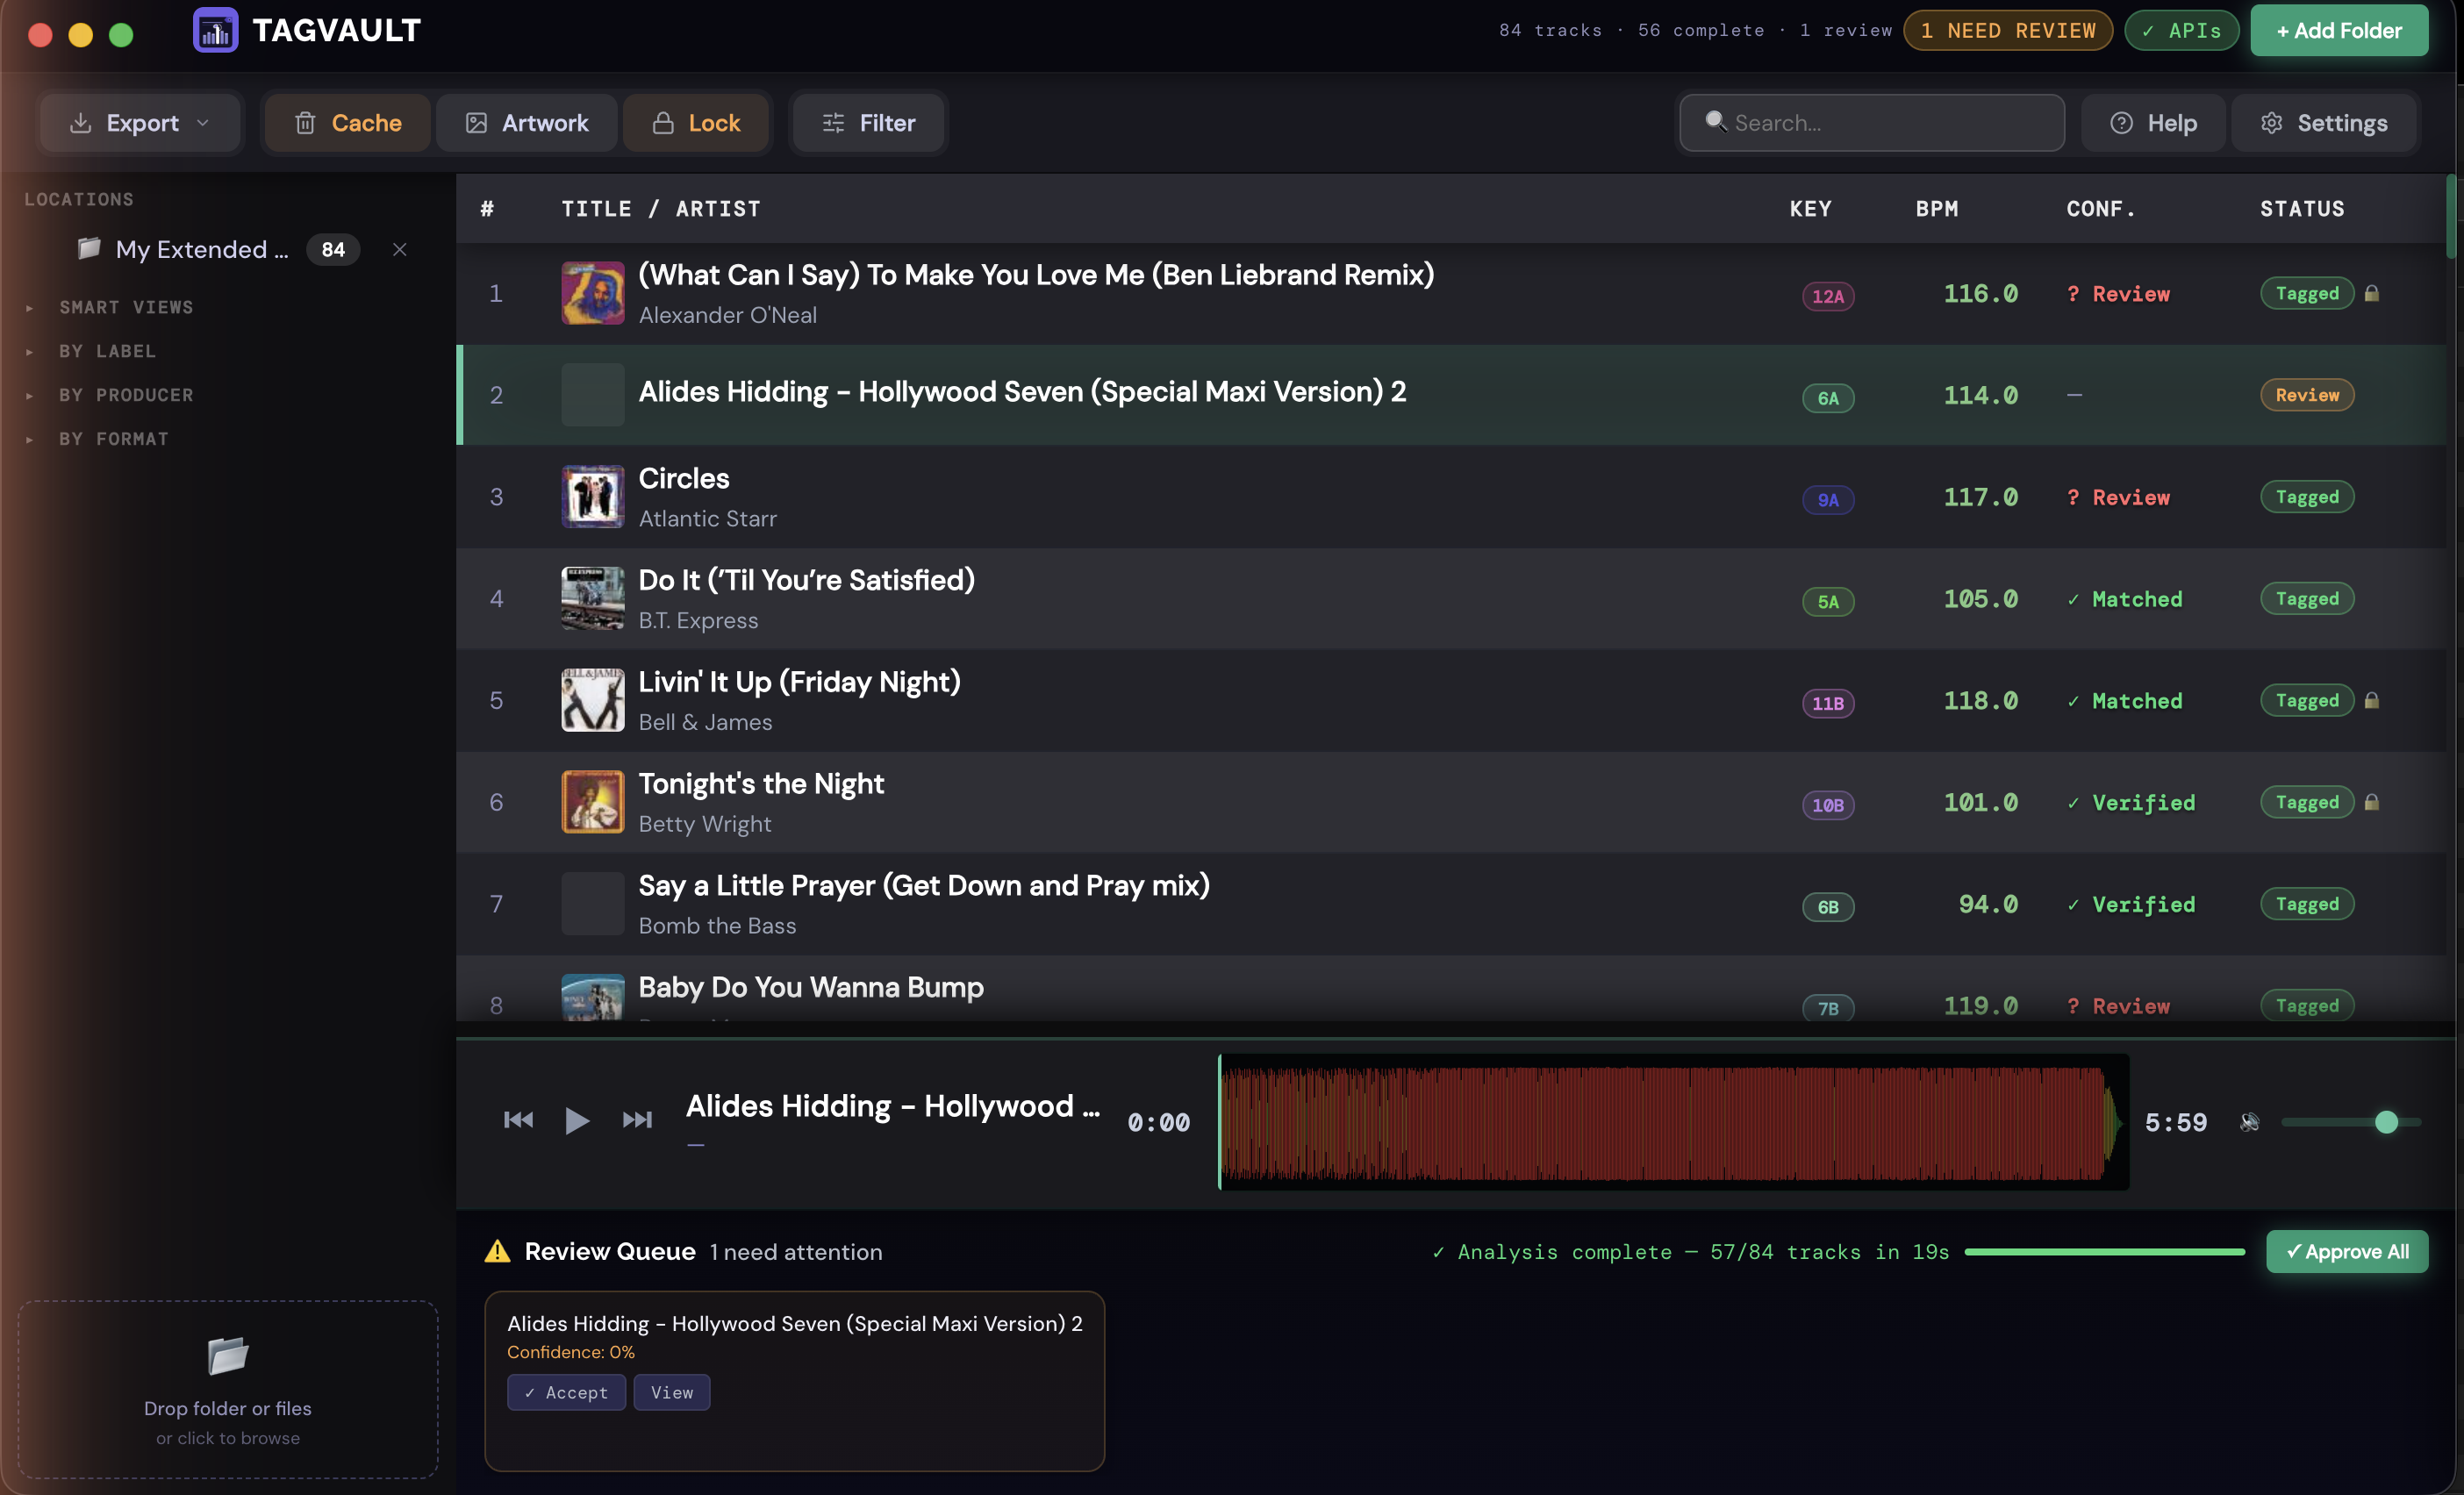
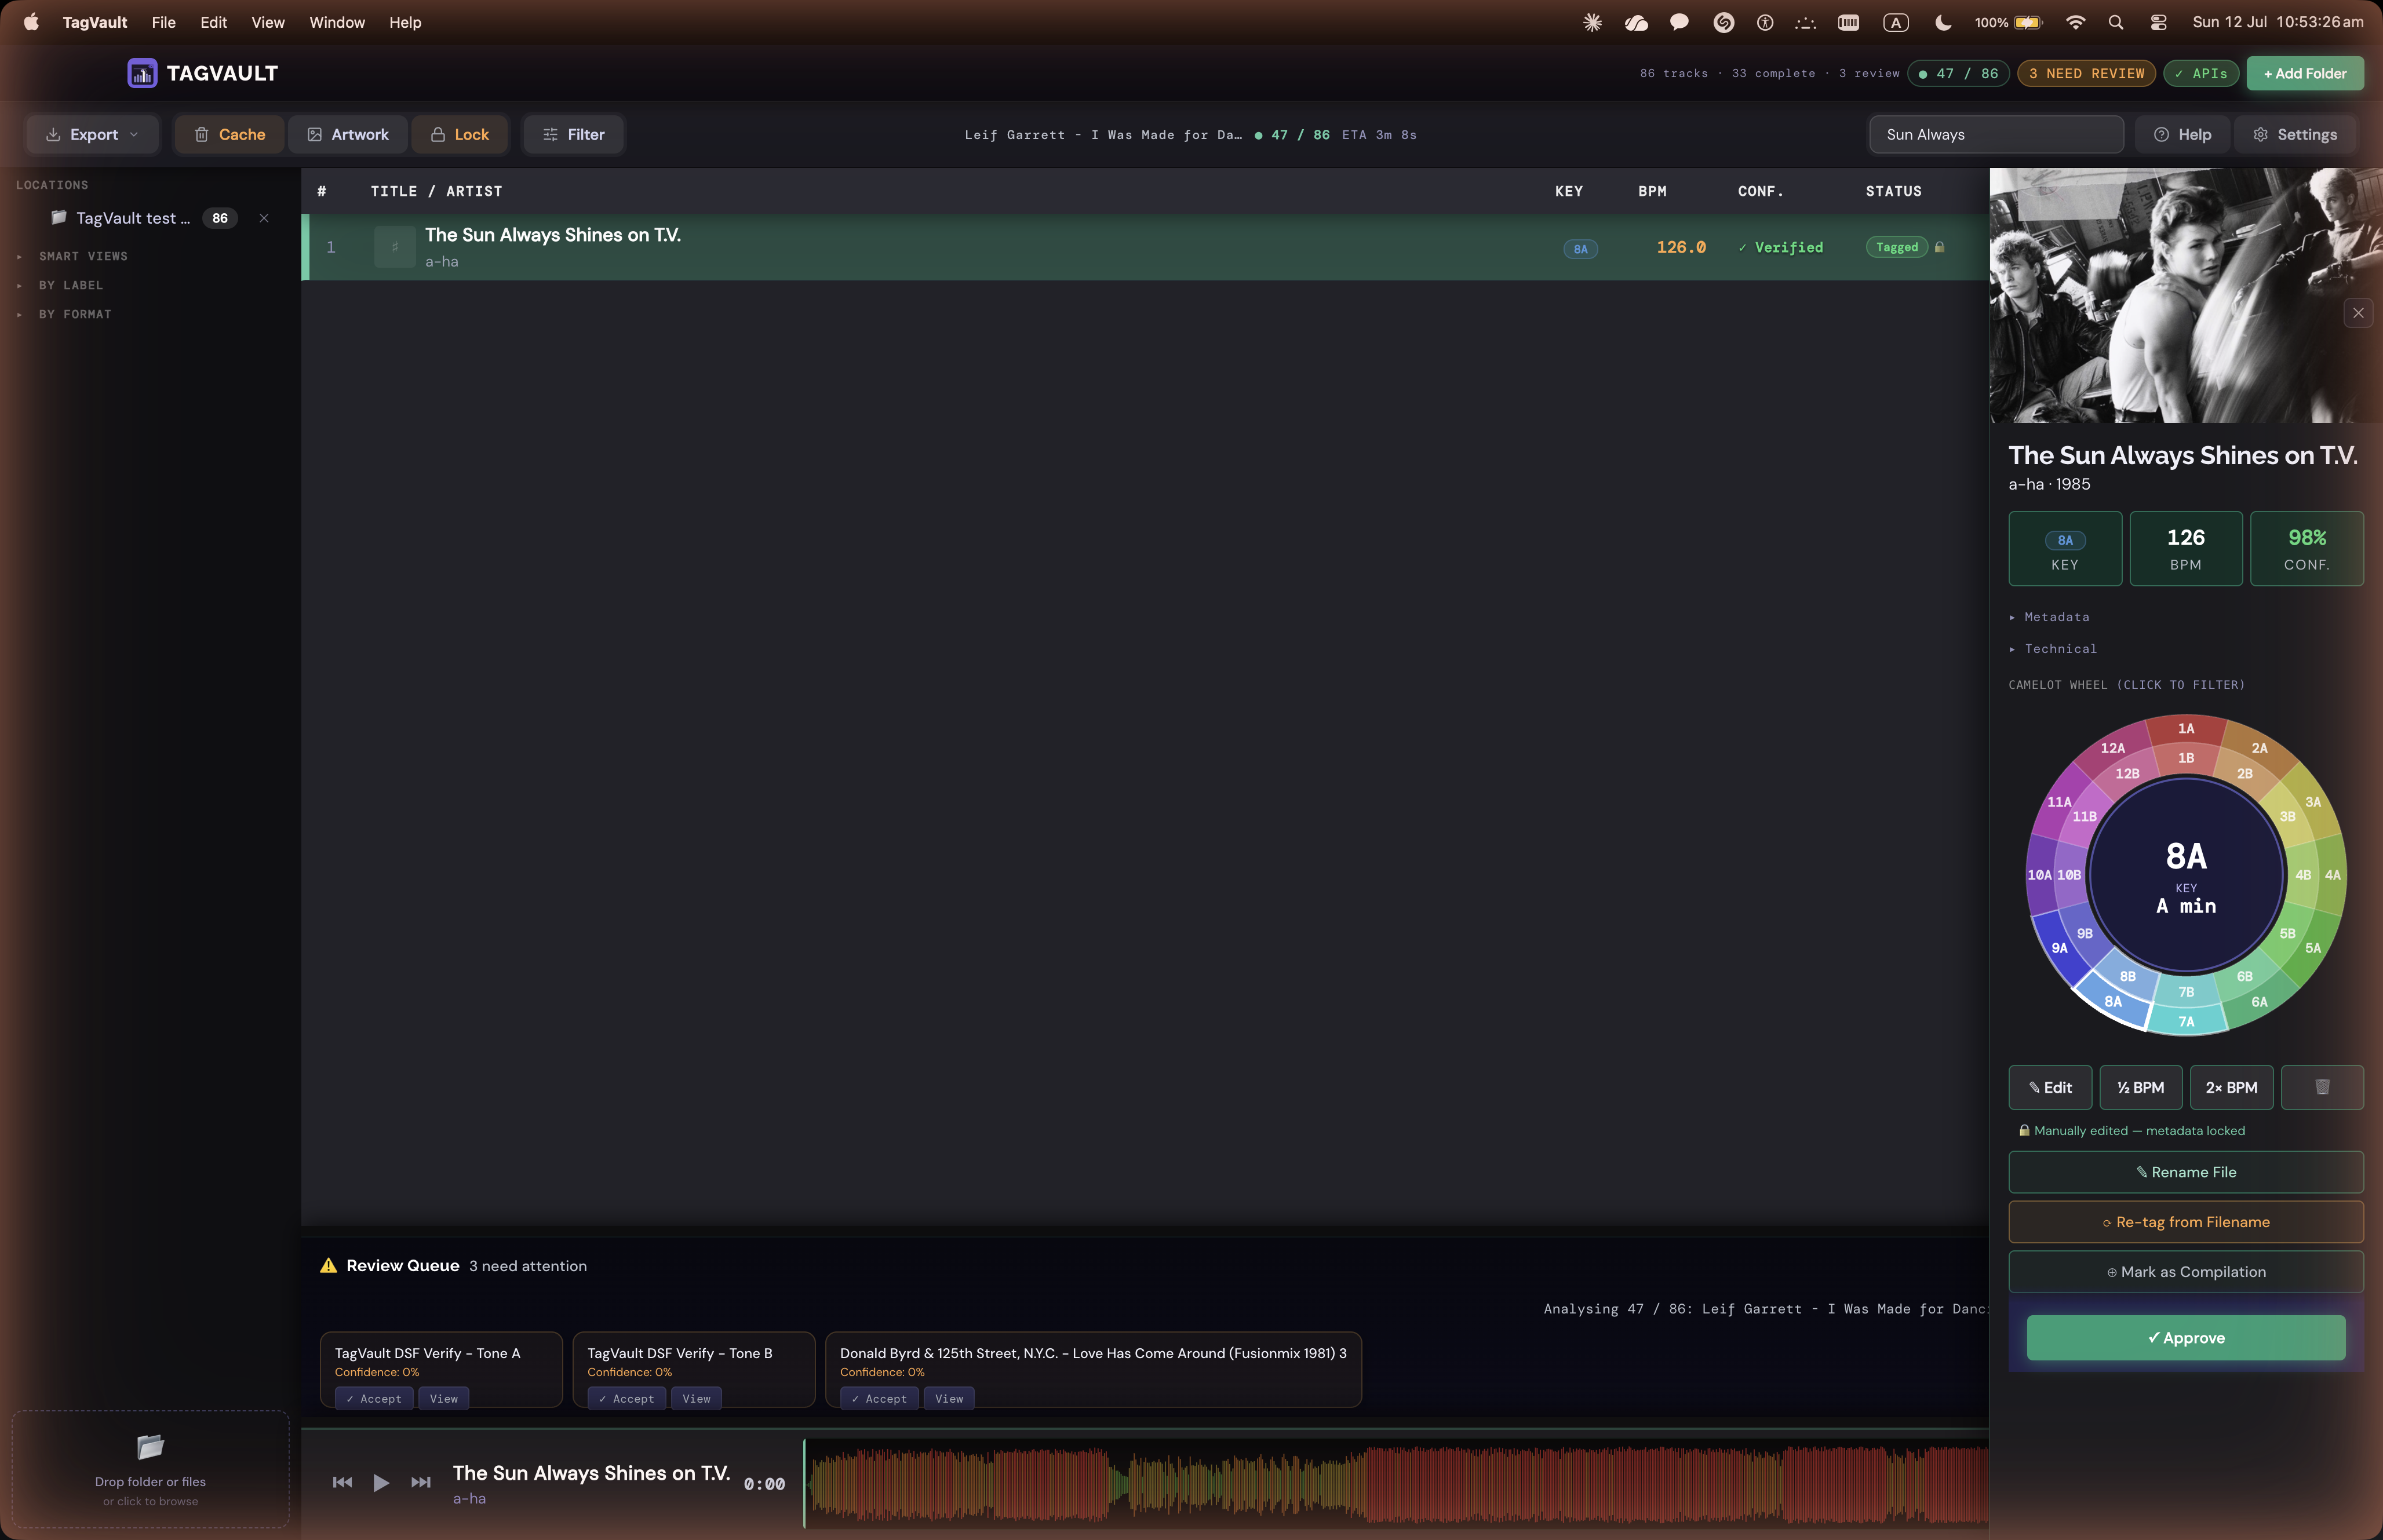
Click any track to see everything — title, artist, BPM, key on the Camelot Wheel for at-a-glance harmonic compatibility, artwork, and technical metadata. Fix anything by hand, then click Approve — it locks the track's tags (🔒) so a future re-analysis won't quietly overwrite your edits.
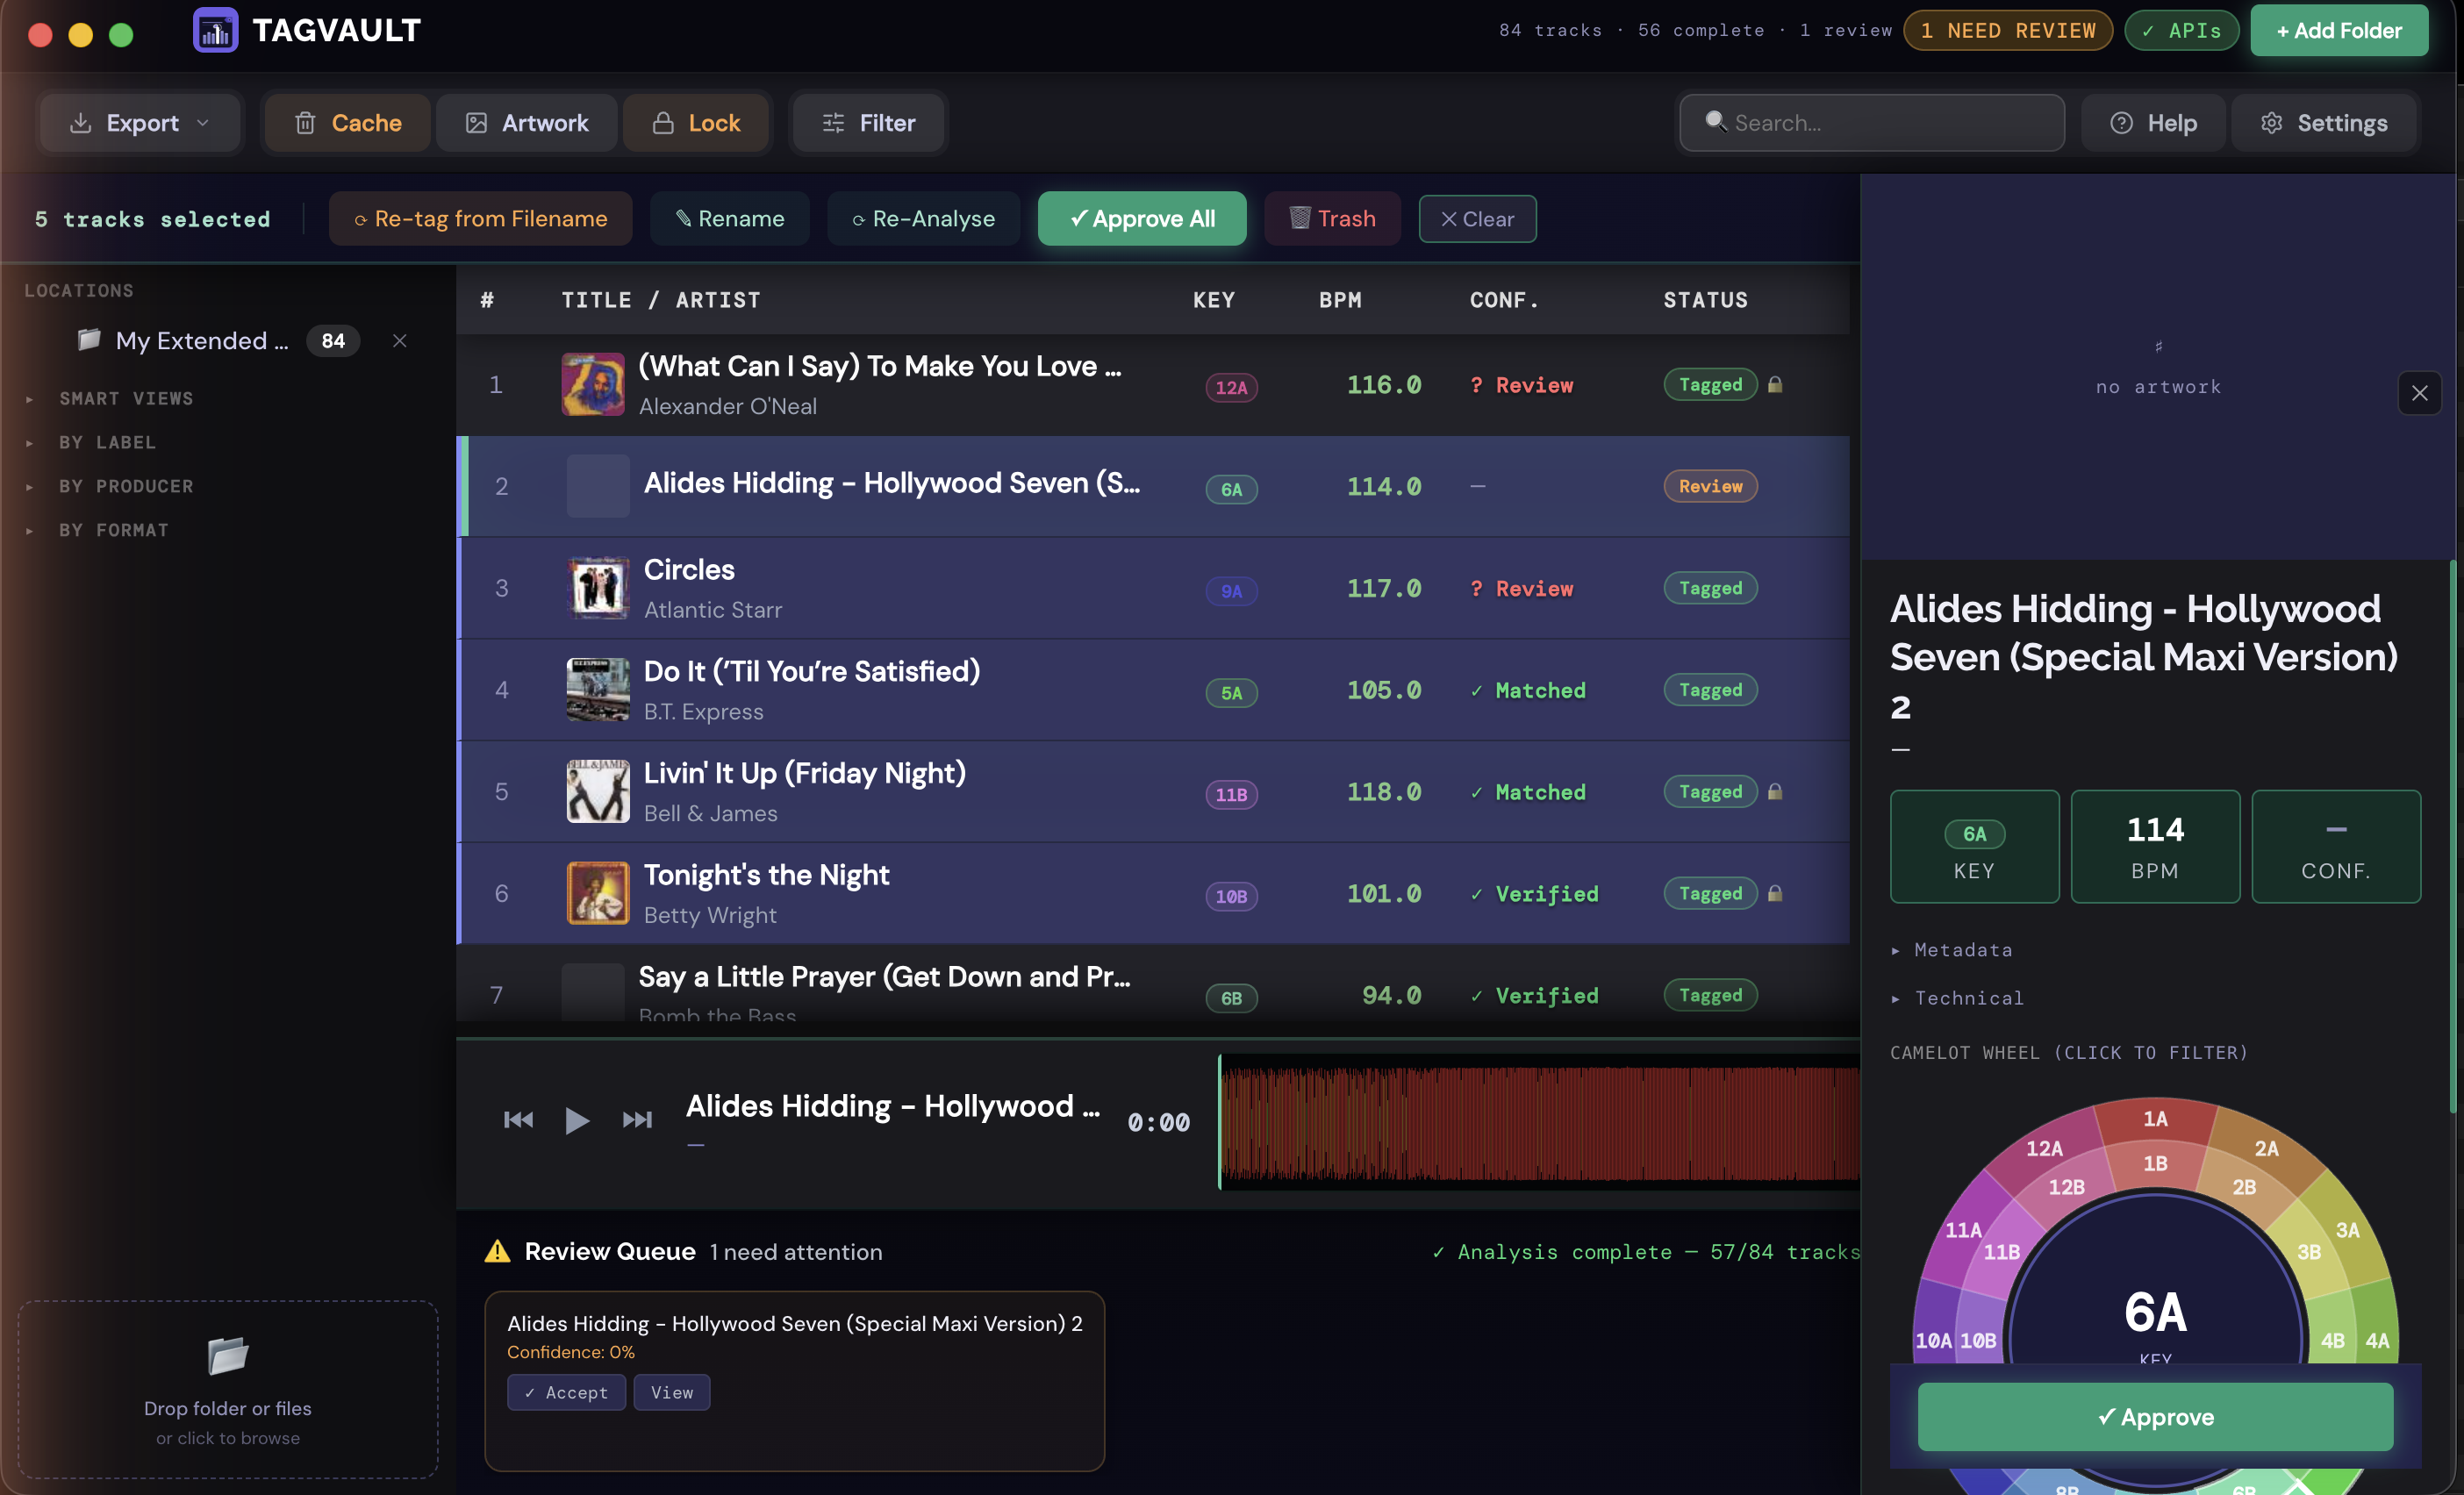
Need to handle several tracks at once? Select a range to bring up the batch bar — Re-tag, Rename, Re-Analyse, or Approve All in one step, with undo always putting things back exactly the way they were.
Selecting a range of tracks brings up the batch action bar — approve, rename, re-tag, or re-analyse all of them together.
Export — or just use the files as they are
Once tracks are tagged and approved, the files on disk are already correct — for a lot of people that's the whole point, whether that means pointing a DJ app straight at the folder, moving tracks into a library manager, or just keeping a clean archive.
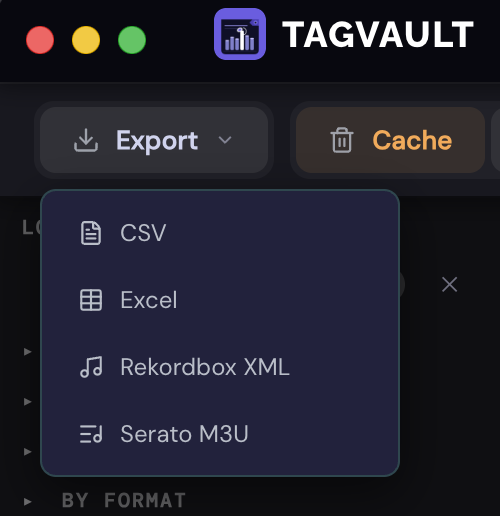
Exporting a list is one more option, not the finish line: straight to Rekordbox/Engine DJ (XML), Serato M3U, CSV, or Excel, respecting whatever filter or selection is active. What you do with a finished library is up to you.
History — jump back into a recent folder
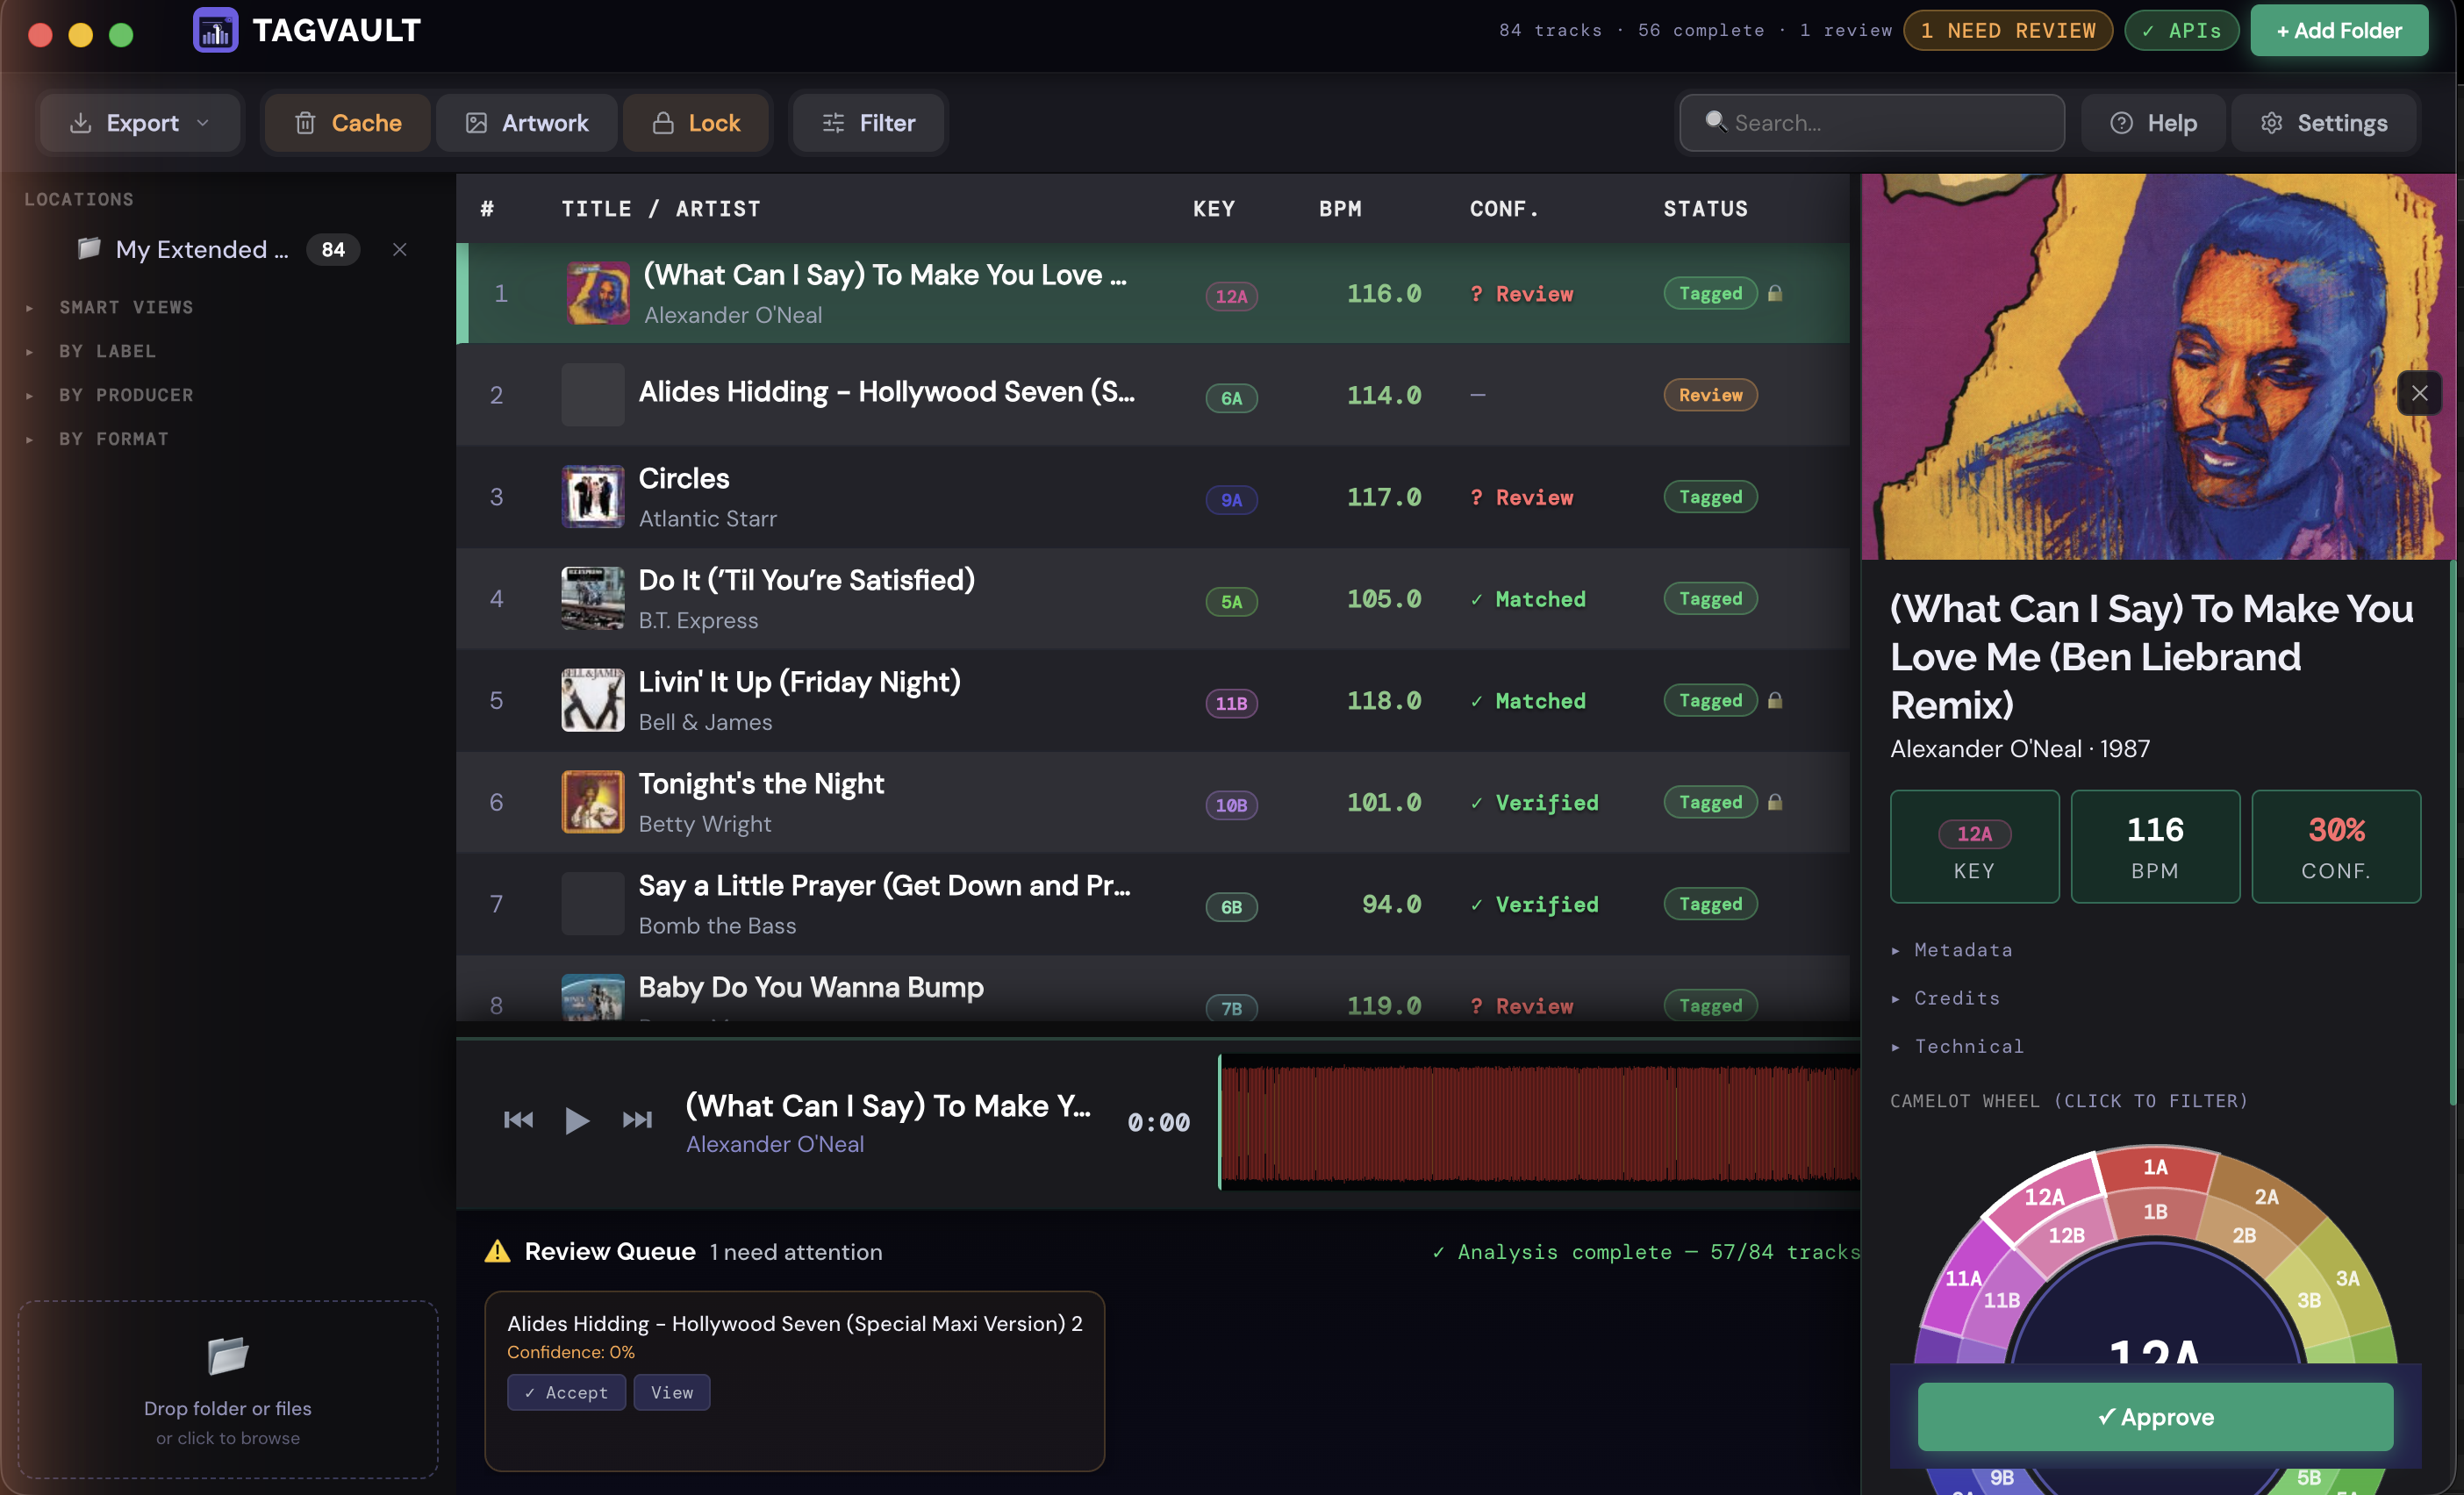
File > Open Recent keeps the last 10 folders and files you've added, newest first, so getting back to a library you worked on recently doesn't mean re-browsing for it.
Click an entry to reload it — TagVault reuses its cache, so this is fast, not a re-scan. If a folder or file has since been moved or deleted, TagVault checks the moment you click it, shows a toast explaining what happened, and removes that entry from the list for you.